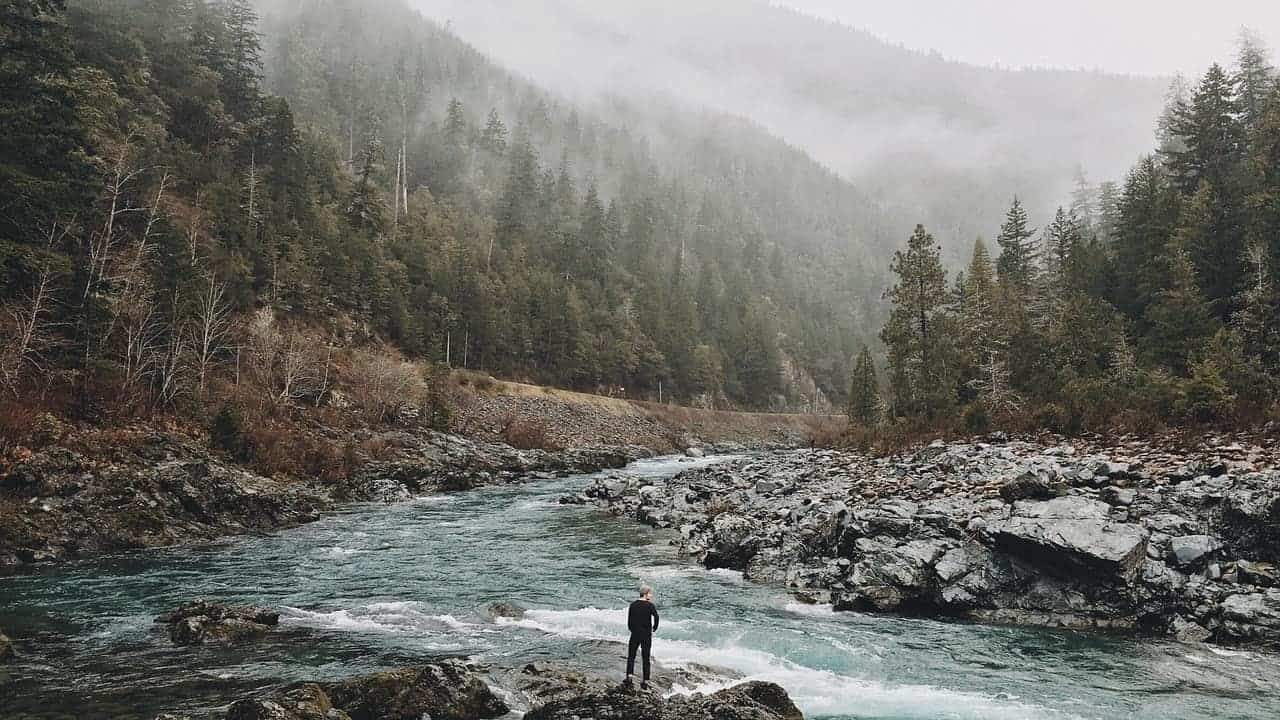
Tips from seasoned travelers for getting the best travel photos.
If you’ve ever looked at someone’s Instagram and wondered how they’re taking such great travel photos, it’s probably because they’re using the right tools to boost their photos. And you don’t have to be a professional photographer to match up. Here are the secrets from seasoned travelers for getting the best shot, whether you’re using your smartphone or something more advanced.
1. Bring Smartphone Lenses Lensa
The simplest way to turn your smartphone into a better camera is to add a lens. Options like wide-angle lens are secret to fitting more into a frame. Clip-on Aukey lenses are affordable and include lots of different options, like wide-angle lenses, fish-eye filter lenses, and macro lenses that sharpen close-up shots. There are options for all types of phones, from the ones that easily clip-on (usually the cheaper options) to those that screw into place more securely with the help of a special phone case.
2. Hidden Smartphone Camera Settings
You might know the rule of thirds, but are you executing it correctly? Turn on your smartphone camera’s grid, which on some phones can also show whether or not your phone is level when shooting something straight-on or from directly above. If you invested in a fancier phone, chances are it also has some more advanced photo setting available in your settings. On the larger iPhone Plus or newer models, for example, portrait mode and its pre-set light editing capabilities can create super professional-looking images.
On most phones you can also adjust the lighting of your photo before you shoot by tapping a focal point and increasing or decreasing the exposure. Taking an action shot is a good time to shoot in a burst to capture more than one image. “Live” video images also give you the advantage of picking from a collection of frames, just in case there was a better shot just after the exact moment you hit the shutter. iPhone users can also create a long exposure effect with Live Photos by choosing ‘Effects’ in the phone’s native camera app.
3. Use the Right Editing App
Even with a good lens and the right angle, the raw photo you take usually isn’t be the best it can be. Cameras are designed to capture as much detail as possible, so your photos can look much flatter, color-wise, than what you witnessed in real life.
Fine-tuning with a free photo-editing app like Adobe Lightroom (available for iOS and Android) will make it easy to transform your images into vivid travel photos. Most images benefit from a little bit of light adjustment, and more advanced editing apps will include an array of options to toy with, from highlights and shadows to sharpness, warmth, and vibrance.
When you download Lightroom, the app provides an introductory tour of its settings, which can teach you what all of those terms mean and how you should adjust them.
4. Bring Mirrorless
Considering something more than a smartphone, but hesitant to take up all that bag space? The right camera for you doesn’t need to be a professional-yet-clunky DSLR. Going for a mirrorless, that’s lighter and easy to carry.
5. Bring Travel-friendly Drone
You’ve probably seen enough bird’s-eye images on social media, drone photos and video are providing a whole new view of the world. And you might be surprised how easy it is to take part in this popular trend. Drone technology has moved swiftly enough in recent years that drones are now relatively affordable for the average traveler. If you’re not convinced it’s worth packing one, choose an affordable drone that is small enough to fit in the palm of your hand.
Top Photo Source: pixabay.com/users/free-photos-242387


